There are many great uses for a full screen overlay. You can add splash screens, user interface elements and other features. Here is how to add a full screen overlay to your Unity Project.
To start with go ahead and create an Image GameObject.
In your hierarchy, right click and choose ui->Image.

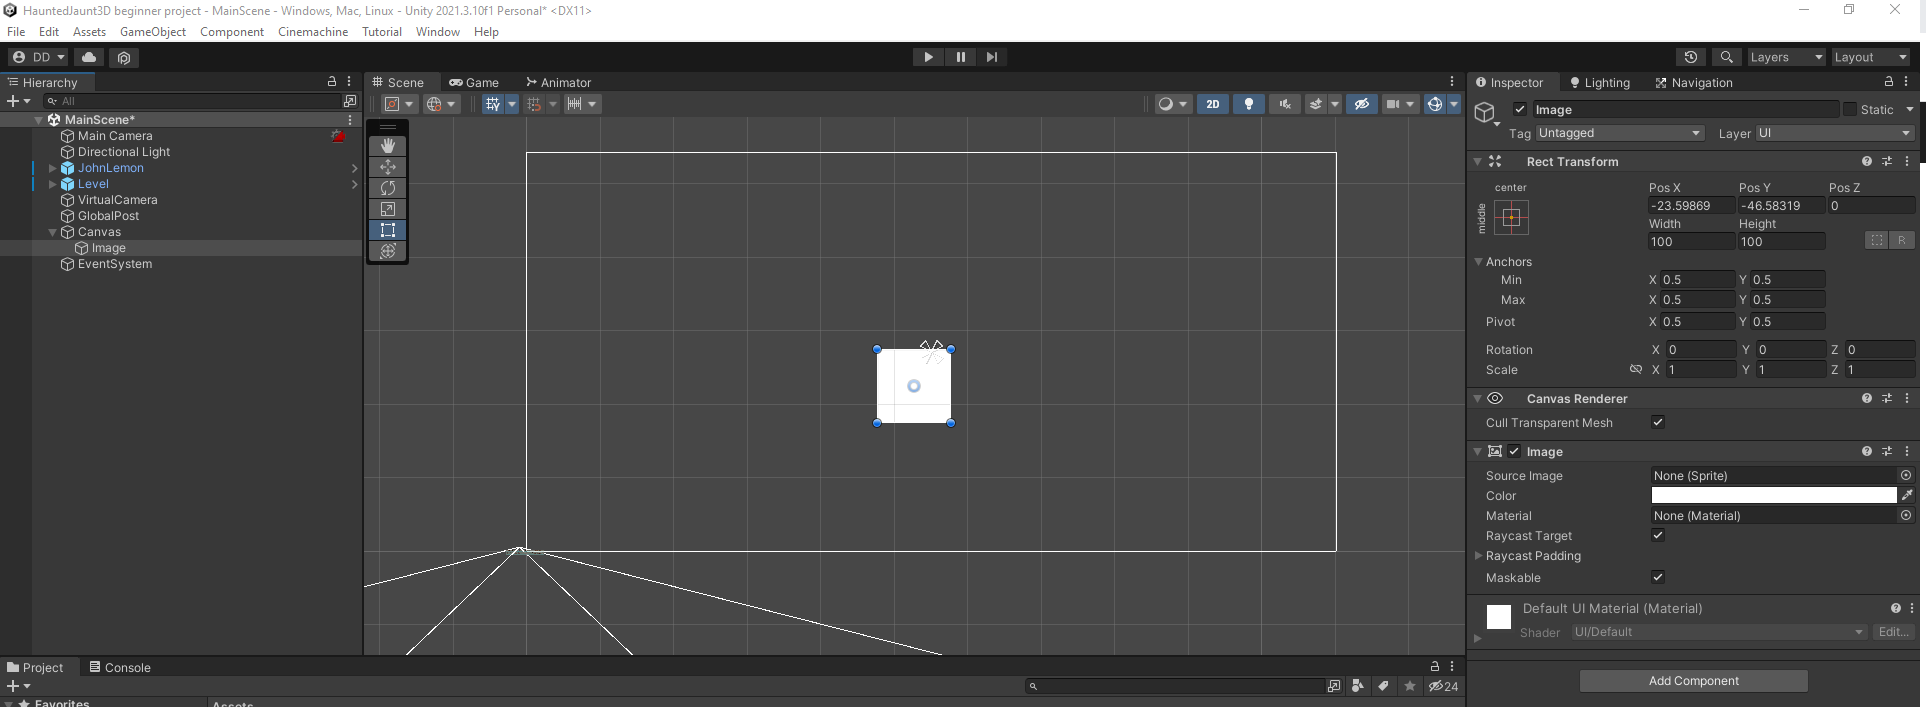
This will add the Image Game Object as well as the Canvas as its parent. An EventSystem is also added.
To get a good view of the new Canvas Image element, make sure to enter 2D mode. Then you should select the Canvas GameObject in the Hierarchy, then place your cursor over the Scene and press F. Use zoom and scrolling to get your comfortable workspace settings.
Depending on your project you may want to take a look at the EventSystem GameObject. There are components attached to it which enable user interaction with any UI elements you might add to the project. If this does not apply to your project, you are free to delete the object from the hierarchy.
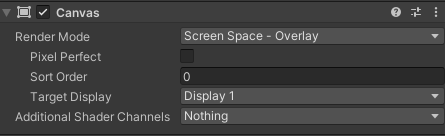
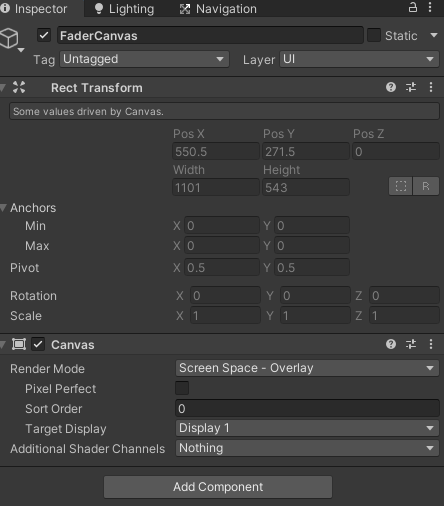
Looking at the inspector on the Canvas GameObject, the Canvas component has a RenderMode that should be set to the default of ScreenSpace – Overlay. This will stretch the image across the screen and ensure it is on top of any other content.
Screen Space - Overlay, where the Canvas fills the screen and all the UI elements of the canvas are rendered on top of everything else
There are two other components on the Canvas object: the Canvas Scaler and the Graphic Raycaster. The Canvas Scaler is a way of controlling the relative sizes of the UI elements when they are displayed on various screen sizes. The Graphic Raycaster is used to detect UI events. For example, when it detects a click, not only will it determine which UI element was clicked on, it will send the event to that element to be handled by the appropriate component.
We don’t need those two components for this project, so feel free to remove them from the Canvas GameObject.
Now we need to configure the Rect Transform component:
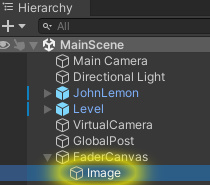
1. Make sure that the Image GameObject is selected in the Hierarchy window.
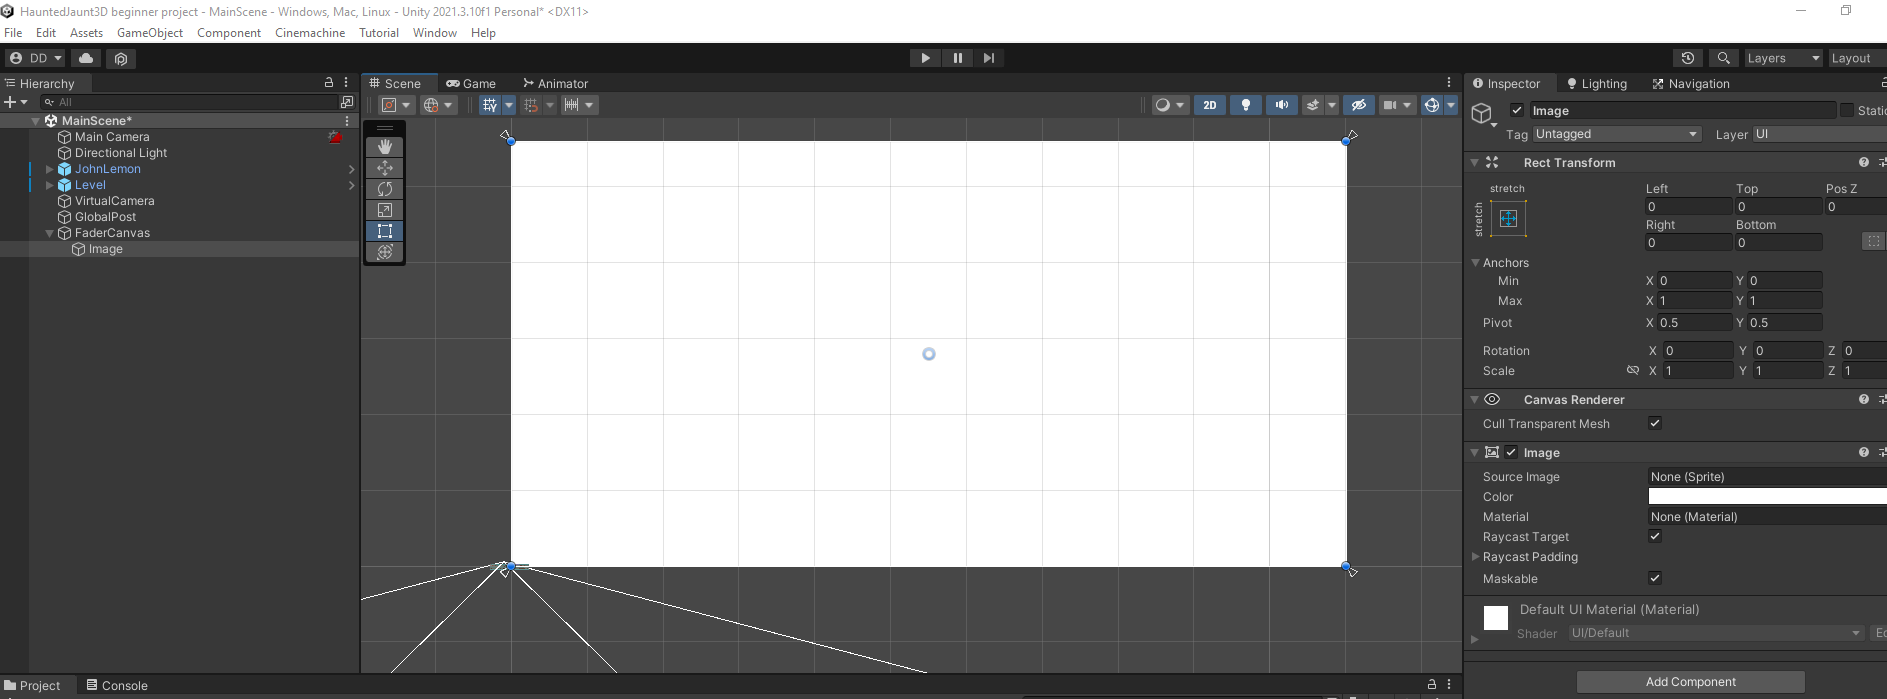
2. Find the Rect Transform component in the Inspector, then expand the Anchors setting.
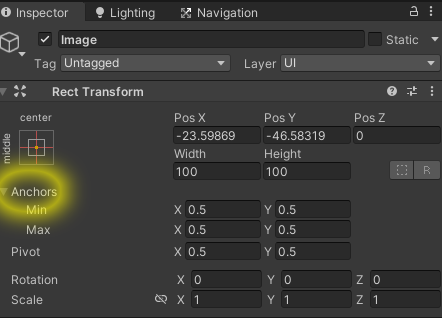
3. Set the minimum values for x and y to 0. Set the maximum values for x and y to 1.

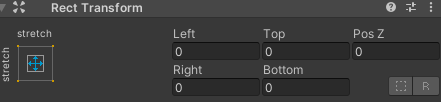
Now that the Anchor area of the Image is the whole screen, we no longer need an offset. Make sure to set the Left, Top, Right and Bottom properties to 0 on the Image’s Rect Transform
Your image now covers the entire screen and will stretch and move as needed depending on the screen size of the user’s device. I look forward to seeing what can be done with this, from start screens, end screens, custom user interfaces and more!